- WSAPPX is a background process in Windows PC that handles tasks like installing, removing, and managing apps from the Microsoft Store. It may cause high disk usage due to its activities.
- WSAPPX might use resources when browsing or updating apps in the Microsoft Store, even if not actively using it. Disabling automatic app updates or ending the WSAPPX process in the Task Manager can help reduce resource consumption.
- Although killing WSAPPX is not recommended, disabling automatic app updates and ending the process in the Task Manager can help alleviate high disk usage concerns.
When you look at the task manager on your computer, you’ll notice a lot of processes running in the background. Many users have reported seeing WSAPPX as a background process. Users have discovered this because it has an unusual name and uses a lot of CPU and disk space.
Many people have considered it suspicious and alarming because of the resources it occupies.
Fix WSAPPX High CPU Disk Usage
This article will discuss what WSAPPX is and why it has high disk usage in Windows 11 and Windows 10/11.
What Is WSAPPX?
WSAPPX is a background process in Windows PC that is meant to handle various tasks like installing, removing, and managing apps from Microsoft Store. You will notice this process in Windows 10 and Windows 11 because this process is meant for Universal apps through Microsoft Store.
When you expand this process on task manager, you might notice a sub-process named WSService or Windows Store Service. There will also be an identical process named ClipSVC (Client License Service) and AppXSVC (AppX Deployment Service).
ClipSVC and WSService are there to provide infrastructure support for the Microsoft Store. Disabling them can cause a problem with Microsoft Store apps, and they might eventually not work properly. They protect against privacy for the Microsoft Store Apps. APPXSVC process is designed to deploy apps. This process will run whenever you install, remove, or update the app from Microsoft Store.
Why Does WSAPPX Cause High Disk Usage?
Well, this isn’t anything unique or new to Windows. Mostly, when you open Microsoft Store and start browsing around, the WSAPPX process will automatically start in the background. When you try to download the app, update it, or remove it, the process will use more resources to do the task for you.
This not only happens with Microsoft Store apps. Even when you try to install traditional apps with the traditional method or run the setup, the process will take up resources. However, if you don’t even use Microsoft Store to update apps, you might still encounter the WSAPPX process. It is because apps get updated in the background automatically.
How To End WSAPPX And Stop High Disk Usage?
Once you are done downloading or updating the apps, you no longer need WSAPPX. However, if you don’t use Microsoft Store, there’s no such requirement for WSAPPX. Sometimes you might not be using Microsoft Store and still find the process to consume resources. This can probably affect the performance of the PC. If you face this issue, then you can fix it. To fix the issue, you can follow the steps given below-
Stopping Apps From Automatically Updating
You may probably encounter this process to be running in the background if the apps are updating through Microsoft Store. To stop apps from updating automatically in Microsoft Store, follow the steps given below-
- Open the Microsoft Store on your PC. Click on the three ellipses that you will find at the top right corner.

- Click on the settings. Here you will see update apps automatically toggle.
- Turn the slider off. This will disable the updates from automatically downloading.
Killing WSAPPX Process
As WSAPPX is a Windows process, it is not recommended to kill it. Killing WSAPPX can cause Windows to become unstable and may shut down. However, if it is consuming a lot of CPU and memory resources, you can kill it in the task manager. To kill WSAPPX using task manager, follow the steps given below-
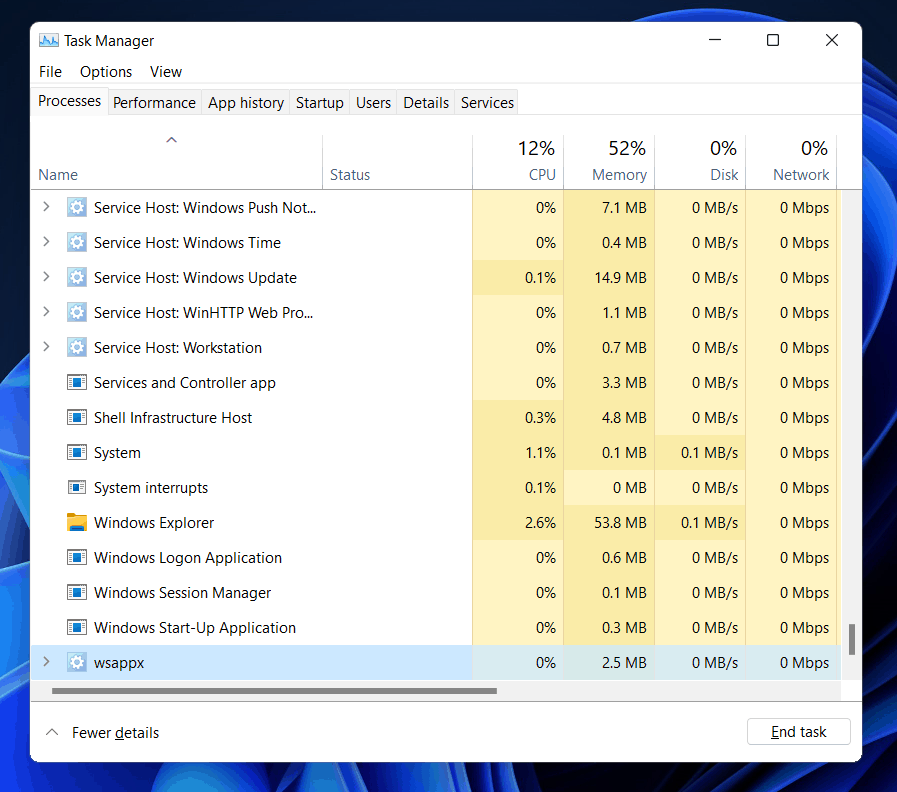
- Open the start menu and search for task manager.
- Head to the processes tab in the task manager .
- Search for WSAPPX in the task manager. Select it, and then click on end task.
- When you click on end task, you will get a warning. Do note that you will have to save all the tasks you were doing because ending the task will shut down your PC.
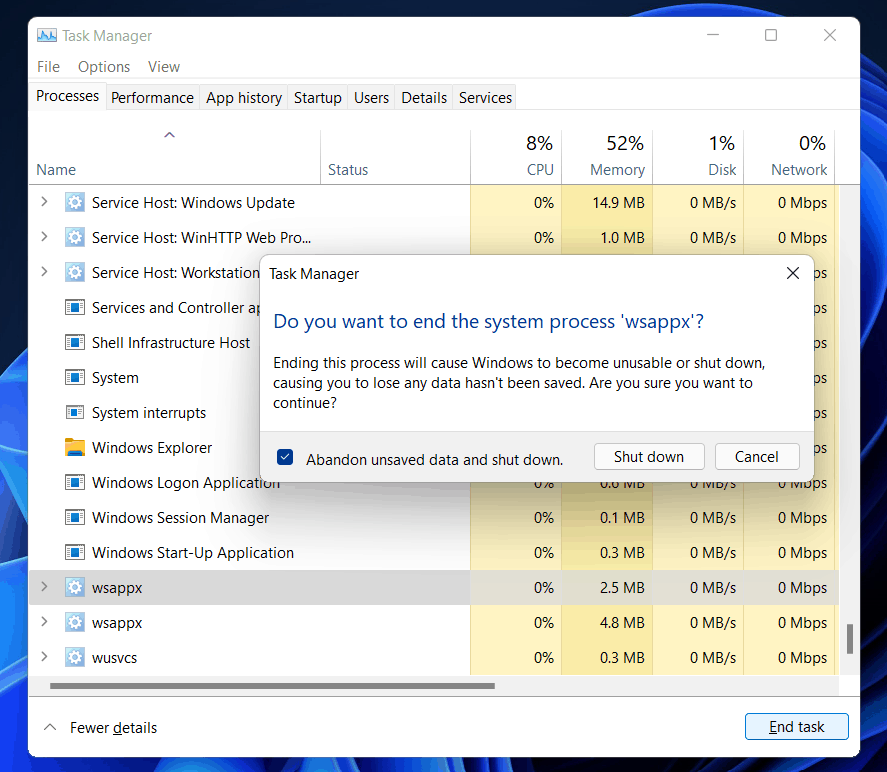
- Check the abandon unsaved data and shut down the checkbox, and click on the shutdown button to end the task.
RELATED GUIDES:
- Service Host SysMain High Disk Usage In Windows 10
- How To Fix PrintNightmare Vulnerability Issue In Windows 10
- Windows 10 Media Creation Tool: Create ISO Installation Media
Summing Up
That’s what WSAPPX is. As it is a process that is encountered when Microsoft Store does some tasks in the background, this might consume resources. Please keep in mind that you have no control over this process and have no way of knowing when it will start or stop. This will start and stop on its own. It is not recommended that you try to remove it because it may cause issues with Microsoft Store and its app. If you try to close it, it may shut down your computer. If it uses a lot of your resources, don’t worry about it; Windows will take care of it automatically, and you won’t have any problems.
- PrintNightmare Vulnerability allows attackers to exploit Print Spooler Service, creating admin accounts through Remote Code Execution in Windows 10.
- Microsoft released security patches to address the vulnerability, making changes in the Registry and preventing unsigned printer device installations.
- To fix the issue, update Windows through Settings, manually download updates from Windows Update Catalog, or modify Registry entries as outlined in the article.
PrintNightmare is a severe vulnerability that affects all Windows 10 computers. Because of Print Nightmare Vulnerability, attackers can find intrusion into Print Spooler Service, and then they can create accounts with administrative privilege by passing a code through RCE (Remote Code Execution). Microsoft soon addressed this vulnerability, and they released security patches to fix the PrintNightmare Vulnerability error in Windows 10.
The security patch that Microsoft released made some changes in the Registry of Windows 10. It prohibits users (except for the admin) from installing unsigned printer devices on the PC. If you are searching for a way to fix the PrintNightmare Vulnerability Error in Windows 10, then you are at the right place.
Fix PrintNightmare Vulnerability Issue In Windows 10
We have listed the working methods to fix the PrintNightmare vulnerability error in Windows 10.
Updating Windows
Microsoft addressed this vulnerability and soon released a security patch to fix the issue. The security patch was rolled out for Windows 10 version 21H1, 20H2, v2004, v1909, and various others. You can update the Windows, and the error will be fixed.
- Go to the settings of your PC.
- In the settings, click on update and security. Click on check for updates to begin checking for updates.

- Once the settings find the latest update, download and install them on your PC.
- After the updates have been installed, reboot your PC and the error will be fixed.
Downloading The Update Through the Windows Update Catalog
If you cannot download the update through the Windows Update settings or don’t find the update, you can manually download the update through the Windows Update Catalog. You can find the update with the security patch to fix PrintNightmare Vulnerability in Windows 10, download it and install it manually.
- If you are using Windows 10 version 21H1, 20H2, or 2004 then you can find the security patch update for these versions of Windows 10 from here . If you are running Windows 10 version 1909, you can find the latest security patch from here .
- Click on the respective link to download the Windows update.
- Once the update has been downloaded, double-click on it to install the update.
- The update will be installed on your PC. After installing the security patch, restart your PC.
Modify The Registry Entry
The security patch released by Microsoft modifies some Registry Entry to fix PrintNightmare vulnerability error in Windows 11. If you cannot download and install the update, you can manually make some changes to fix the vulnerability. Follow the steps given below to modify the registry entry on your PC.
- Open the start menu on your PC. In the start menu, search for Registry Editor and open it.
- Head to the following path in the Registry Editor-
HKEY_LOCAL_MACHINE \Software\Policies\Microsoft\Windows NT\Printers\PointAndPrint
- Right-click on PointAndPrint in the left sidebar, and then click on New and then select DWORD (32-bit) value.

- Name the value as RestrictDriverInstallationToAdministrators.
- Once done, double-click on the new value you created from the right side.
- Set the value to 0, and then click on OK.
- Once done, close the Registry Editor and then restart your PC.
Once done, you will no longer face the PrintNightmare Vulnerability error in Windows 10. However, you can try to install Windows 11 .
- How to Upgrade Windows 10 to Windows 11
- Windows 10 Media Creation Tool
- Fix Keyboard Stopped Typing on Windows 10
