- System Restore in Windows 11 allows creating restore points for system recovery
- To delete a restore point in Windows 11, access Settings and navigate to System Protection
- Follow the steps in Settings to delete restore points and free up storage space on your PC
System Restore is a Windows feature that allows users to create a restore point from which they can restore the system to a previous state. This can come in handy if you’re having trouble with Windows and can’t seem to fix it. You can restore your system to the state it was in when the restore point was created if you have created one. Though this may prove to be a useful feature for resolving Windows 11 issues, you should be aware that it consumes a significant amount of storage.
After a period of time, you may need to delete a restore point if it is no longer useful. It’s simple to delete a restore point in Windows 11 , and you can do it whenever you want. This article will show you how to delete a restore point in Windows 11 if you’ve been looking for a way to do so.
How To Delete a Restore Point in Windows 11
We’ll talk about how to delete a restore point in Windows 11 in this article.
Deleting A Restore Point In Windows 11
You can delete a restore point in Windows 11 from the settings of your PC. To delete a restore point in Windows 11, follow the steps given below:
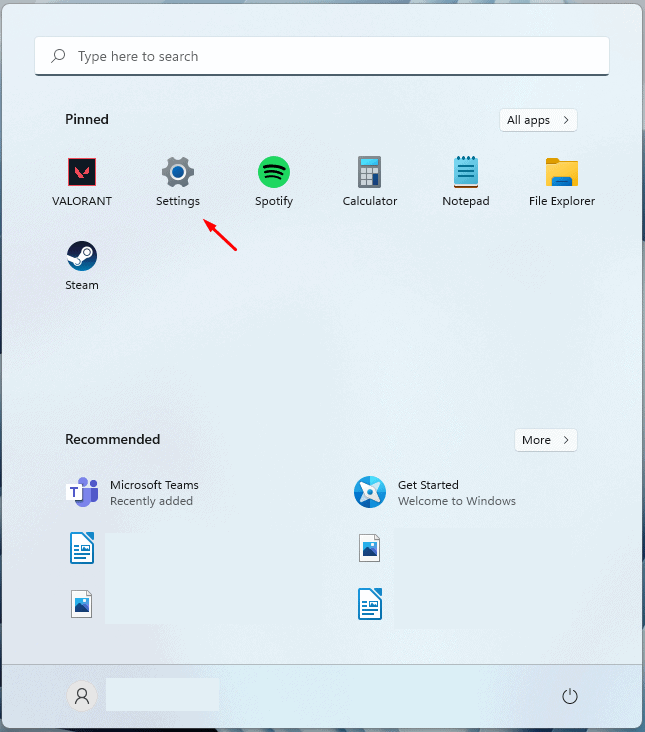
- Firstly, open the Settings app on your PC. You can do so by pressing the Windows + I key combo. You can either search for the Settings app on the Search Menu and then click on the relevant search result to open the Settings app.
- By default, you will be on the System section in the Settings app. If you are not already on it, click on the System section on the left sidebar.
- On the right side of the System section in the Settings app, click on the About option. You will find this option at the bottom of the window.

- On the next screen, click on the System Protection option.

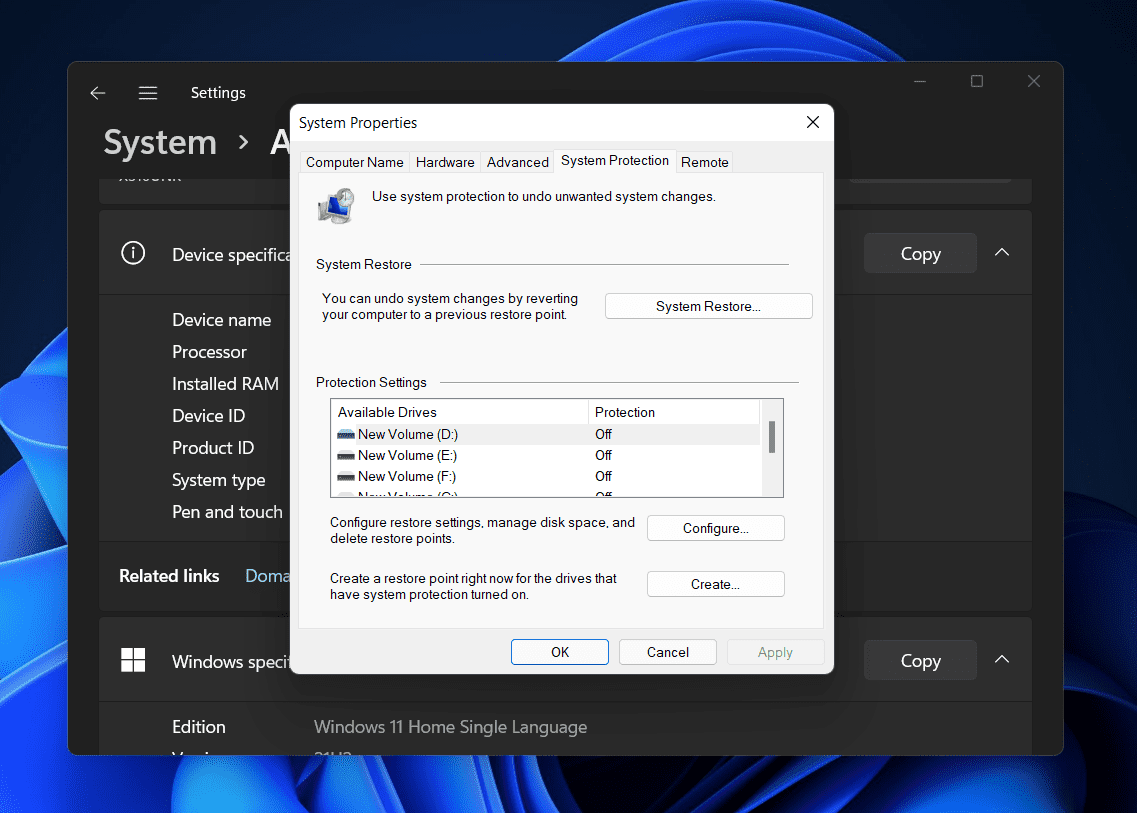
- You will now be headed to the System Protection tab in the System Properties. Here, click on the Configure button to continue ahead with the process.
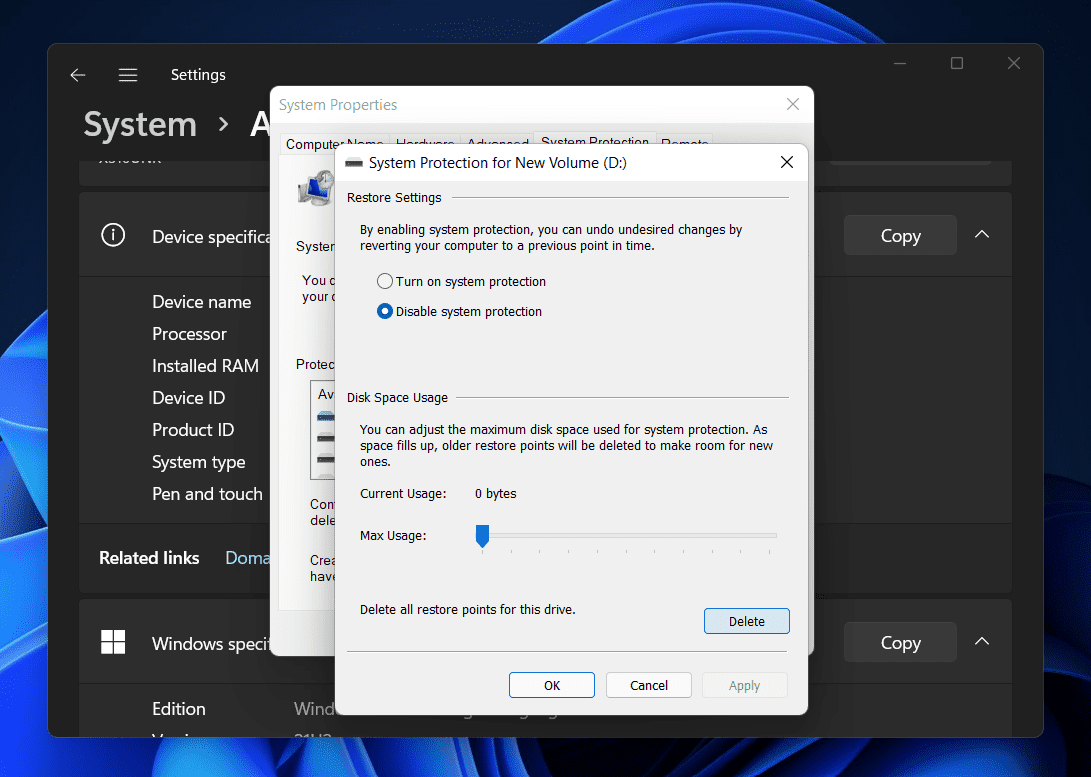
- Here, click on the Delete button next to the Delete all restore points for this drive.
- You will be asked to confirm deleting the restore point. Once done, you will get a message saying that the restore points have successfully been deleted.
This will delete a restore point in Windows 11. However, if you don’t want to delete a restore point in Windows 11 but want to lessen the space consumed, you can slide the slider right beside the max usage. Slide the slider to the left to lessen the space occupied.
Conclusion
If you want to remove a restore point in Windows 11, you can prefer following the steps in this article. We have discussed the complete step-by-step process to help you delete a restore point in Windows 11. Following the above steps, you will easily remove a restore point in Windows 11.
RELATED GUIDES:
- How To Delete Printer Driver In Windows 11
- How To Fix IRQL_NOT_LESS_OR_EQUAL Error In Windows 11
- How To Fix High CPU Usage In Windows 11
Should I Delete Restore Points?
Restore Points do consume a lot of your storage, and sometimes you may find a need to delete them. If restore point is consuming a lot of memory, you can prefer deleting them.
Can I Delete Old Windows Restore Points?
Yes, you can delete old Windows Restore points in Windows 11. If you want to delete old Windows restore points, then you do have the option to do that.
How Do I Delete Restore Points In Windows 11?
You can delete the restore points in Windows 11 using the settings app. We have discussed the complete process to delete Restore Points in Windows 11 in the article above. You can follow the steps in this article to delete restore points in Windows 11.
- Deleting printer drivers in Windows 11 can fix printer-related issues
- Use the Settings app to delete printer drivers easily:
- Open Settings using Windows + I
When there’s some problem with the printer, and you cannot use it on your PC, the best way to fix the issue would be to remove the printer driver. Well, many people prefer removing the printer and then installing it again, and to some extent, that can do the job if the issue is not due to the hardware issues. If you have been facing issues with the printer and want to delete the printer driver, fortunately, you do have the option to do so.
Delete Printer Driver In Windows 11
In this article, we will be discussing how you can delete a printer driver in Windows 11 .
Deleting Printer Driver Through The Settings App
The very first way to delete printer drivers is through the Settings app. To delete the printer driver through the Settings app, follow the steps given below-
- Press the Windows + I key to open the Settings app on your PC.
- Next, click on the Bluetooth & devices on the left sidebar of the Settings app.

- Now on the right side, click on the Printers & Scanners. You will see a list of all the printers you have added to your PC.

- Click on the printer for which you want to delete the driver. Now, click on the Remove button next to the printer to remove it along with the drivers associated with it.

- If you are asked to confirm deleting the printer driver, click on Yes. Once done, restart your PC for the changes to take effect.
Deleting Printer Driver Using Print Management
Another way to do so is by using print management. Follow the steps given below to delete the printer driver using the print management-
- Press the Windows key on your keyboard to open the Start Menu. In the Start Menu, search for Print Management and then click on it to open the app window.
- Expand the Custom Filters section on the left sidebar of the Print Management app window.
- You will now see a list of all the printer drivers on your PC.
- Select the drive that you want to remove from your PC. Right-click on it, and then click on the Remove Driver Packager option.
- You will be asked to confirm removing the driver. When asked to confirm your choice, click on Yes.
- This will delete the printer driver from your PC.
Deleting Printer Driver Using Command Prompt
You can also delete the printer driver using the Command Prompt. Given below are the steps to delete the printer driver using the Command Prompt-
- You will have to launch the Command Prompt as administrator. To do so, open the Start Menu and search for CMD. Now, right-click on the Command Prompt and click on Run as administrator.

- In the Command Prompt, type the command wmic printer get name and hit Enter to execute.
- You will now see the list of all the printers on your PC.
- Next, type the command printui.exe /dl /n “YOUR-PRINTER-NAME” and execute it. You will have to ensure you replace YOUR-PRINTER-NAME with the printer’s name that is displayed on the list.

- The printer will now get removed. Ensure you restart your PC after doing so.
Deleting Printer Driver Using PowerShell
The last way to delete the printer driver is by using PowerShell. You can do so by following the steps given below-
- Press the Windows + X key combo, and then from the menu, select Windows Terminal (Admin).
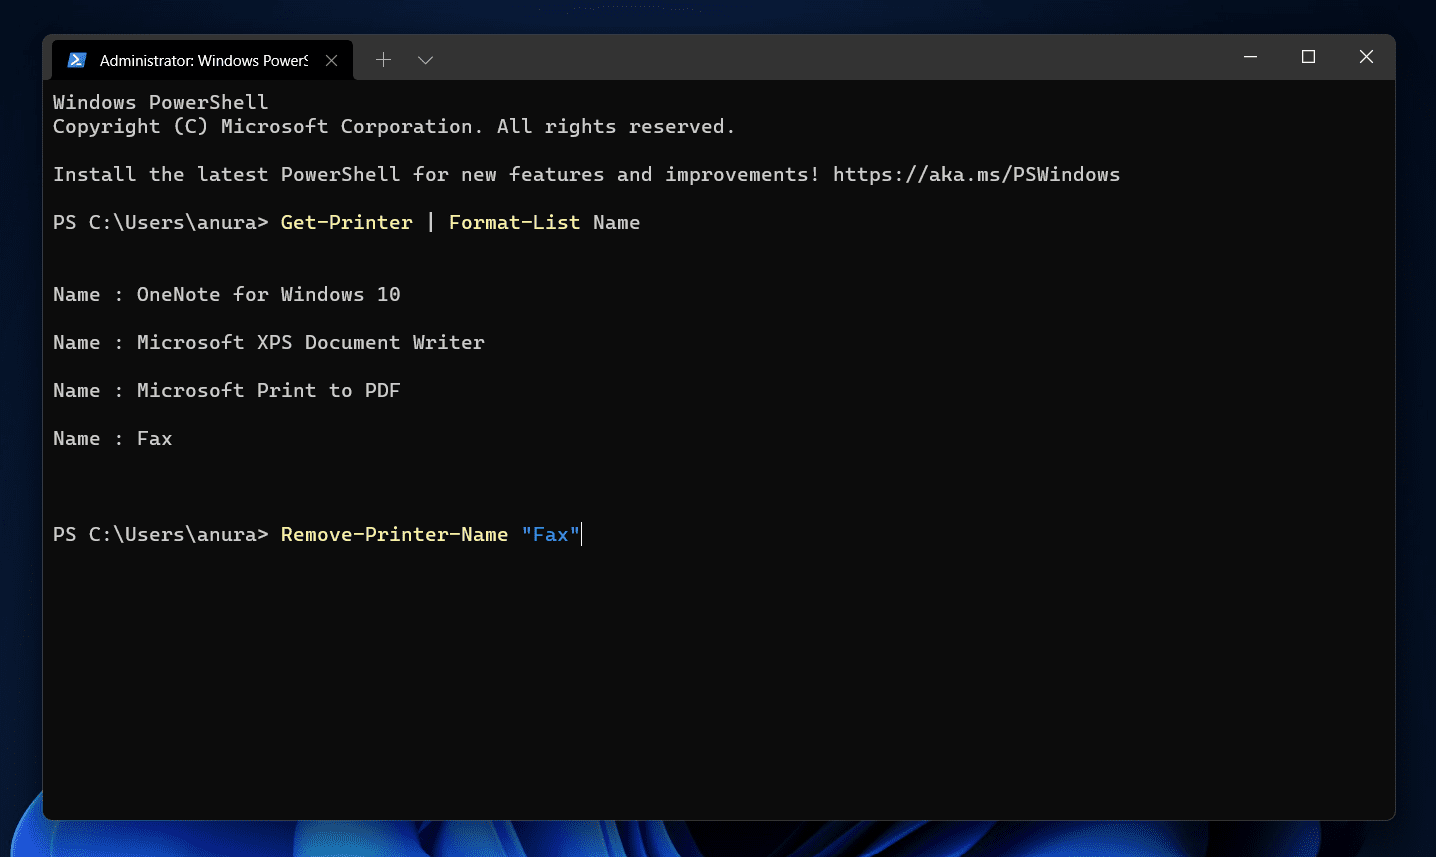
- Now enter the command Get-Printer | Format-List Name in the Windows PowerShell and hit Enter to execute the command.
- Next, type the command Remove-Printer-Name “Your-Printer-Name” and hit Enter. Ensure you replace Your-Printer-Name with the name of the printer you see here.
- This will remove the device along with its driver.
RELATED GUIDES:
- How to Create PDF File in Windows 11
- How to Install Windows 11 Printer Drivers Easily
- How to Fix Windows 11 Printer Spooler Error
- Top 5 Ways to Fix Windows 11 23H2 Copilot Not Showing
Final Words
This is how you can delete the printer driver on Windows 11. We have discussed the four ways to delete printer drivers in Windows 11 easily. Following the above steps, you will remove the printer driver in Windows 11.
