- When encountering the “Start PXE over IPv4” error message while booting in Windows 11, it indicates the PC is attempting to boot from PXE, causing other boot devices to fail loading the OS.
- To resolve this error, try turning off Secure Boot and Legacy Support, disabling Wake On LAN, and changing the boot priority to HDD or SSD.
- Updating the BIOS can also help rectify the issue, ensuring to follow the necessary steps carefully to avoid interruptions during the process.
Sometimes you may see the “Start PXE over IPv4” message on your screen while booting up your PC. And you’re not alone, as many other users face the same error.
When you see this message, it means the PC is trying to boot from Pre-boot Execution Environment, PXE, and your other booting devices can’t load the operating system.
If you’re encountering this error message, you need to read the post till the end, as here I’ll share some ways to fix start PXE over IPv4 error message while booting in Windows 11 .
Fix Start PXE over IPv4 Error Message While Booting in Windows 11

Start PXE over IPv4 error message shows up while booting in Windows 11 mainly because of the absence of booting devices or boot misconfiguration.
So, you need to identify the main culprit and fix that to get rid of this error message. I have shared four proven ways below to eliminate this error easily.
Turn Off Secure Boot and Legacy Support
Secure boot is a security standard in PCs that only use the software trusted by the OEM.
On the other hand, legacy support is a mode in the computer system to support older versions of software and data.
Sometimes both can lead the computer to show booting-up errors like the Start PXE over IPv4 error message.
So, it’ll be better for you to disable them and check if you see the error message. And to do that, these are the steps:
- First, turn off your PC.
- Then turn it back on and press the BIOS key when you see the lights.
- After that, you must locate the Secure Boot option and disable it using the arrow key on your keyboard.
- Then, look for Legacy Support and disable that as well.
- Finally, save all the changes and exit the BIOS menu.
Disable Wake On LAN
Wake on LAN is a feature that helps you to turn on the computer remotely if it’s sleeping, hibernating, or even shutting down.
Many users have found that disabling this feature has helped them get rid of the Start PXE over IPv4 error message while booting in Windows 11. You should also try disabling that and check if you face the issue.
The process is simple and easy for those who are familiar with BIOS, but if you don’t know how to do that, just follow these steps:
- Turn off your PC and turn it back on; keep pressing the key until you go to the BIOS page.
- Then you must navigate to either the Advanced tab or the power tab.
- After that, you’ll see a list of many options where you need to find the Wake On LAN option and set it to disable.
- Save the changes by pressing F10 and restarting your computer to give it a fresh start.
Change The Boot Priority
Another possible reason behind the start PXE over IPv4 error message is the wrong boot priority as you set the system to boot into one drive but a boot in another. So, it’ll be better for you to change the boot priority and set that to HDD or SSD, depending on your drive.
The process will be easier for you if you’re familiar with the BIOS page; if not, don’t worry; just follow these steps:
- First, go to the BIOS page.
- Then, navigate to the Boot tab.
- After that, locate Boot Priority Setup and press the enter key after selecting it.
- Then, it’ll show you a list of all the drives available on your computer, you just need to ensure that either HDD or SSD is on the top, and you can do that by using the arrow key on your keyboard.
- Now, press the F10 key on your keyboard to save all the changes.
Then, exit the BIOS page, restart your computer, and check whether the issue is fixed. If not, follow the last solution mentioned below.
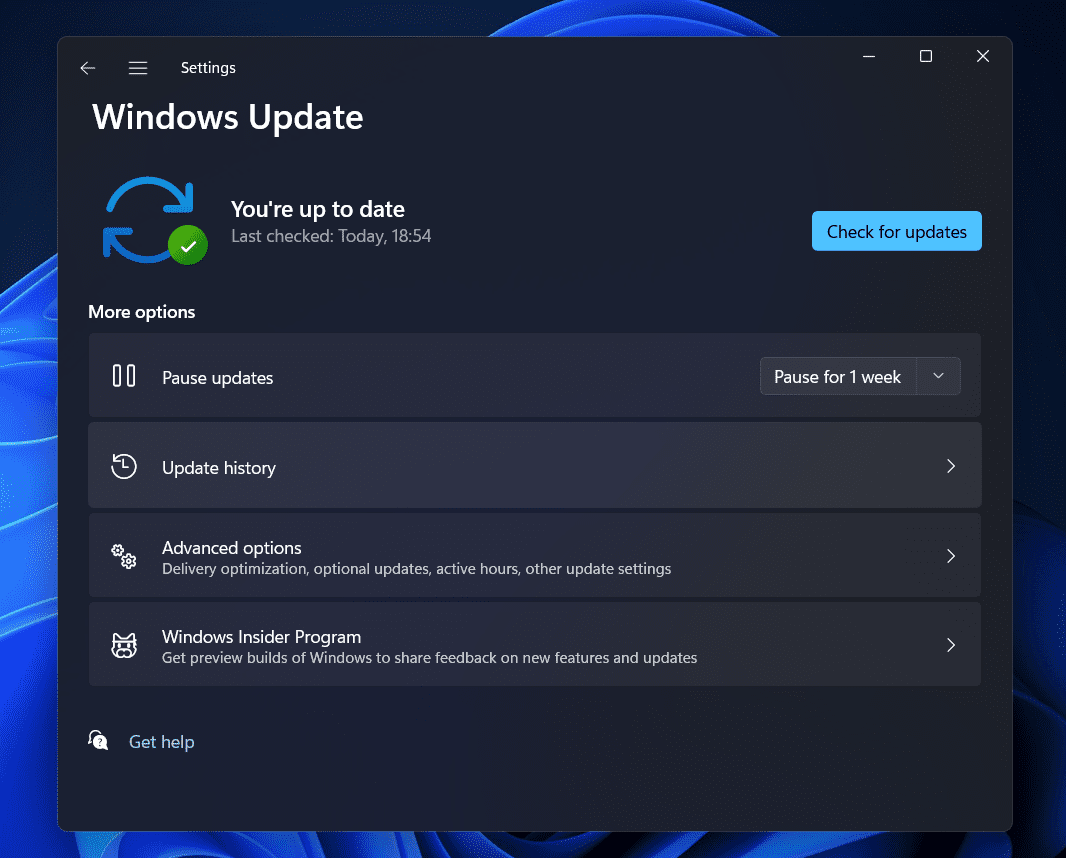
Update the BIOS
Another thing you can do to fix start PXE over IPv4 error message while booting in Windows 11 is to update the BIOS.
The process is a bit complex if you haven’t done this before. But don’t worry; you can check out the steps below to do that easily and without any error.
But before you do that, ensure that your laptop is fully charged, or in case you’re using a PC, then you should have the UPS fully charged so that the process doesn’t get interrupted, failing the system.
- First, type in System Information on your Windows search bar and click on the result to open it.
- It’ll take you to a new window with many options for finding the BIOS option.
- You’ll see the BIOS version of your computer that you need to copy or note down somewhere.
- Your next step is to visit the official website of your computer’s manufacturer.
- On the page, you need to select the Support option.
- Then, locate the Update BIOS option; if you see a search bar, type in to find that easily.
- After that, it’ll show you the latest version of BIOS; just download it on a Flash Drive.
- Finally, take your computer to BIOS mode and install the latest version.
Conclusion
Change Default Search To Google in Start Menu Windows 11
How to Enable/Disable Numlock at Windows 10/11 Startup
Fix Search Menu Keeps Opening Randomly in Windows 11
How to Fix Monitor Goes Black Randomly on Windows
How to Fix Error 740 While Adding Printer on Windows 10/11
Fix Search Menu Keeps Opening Randomly in Windows 11
Fix: Windows 11 Memory Integrity Keeps Turning Off
How To Download And Install Connect App In Windows 11
Windows Users encountering Error 740 while trying to add printers on Windows 10/11
Users facing issues related to network privileges, administrative authorities, and printer drivers
Solutions include checking printer connectivity, cables, disabling User Account Control, running Printer Troubleshooter, updating drivers, and checking for Windows updates.
The Windows Users are frustrated with a new issue that is not letting them add the printer on Windows 11 or 10. Whenever they try to add the printer on Windows 10 or 11, they get Error 740. Even after a lot of new updates, Windows 11 is still not free from bugs and issues. The users are complaining about various issues in the Windows Community, which shows that many users are stuck with different issues on Windows.
The users who have the printer have reported getting Error 740 and will add the printer to the Printer Wizard Menu. They cannot determine why this error comes to them when they add the printer on Windows 10 or 11. Some users who have Windows 10 have also reported the issue. We are here with a guide on How To Fix the Error 740 Adding Printer issue. We will also explain the reasons why you are getting this issue. So, let’s start with the guide to learn how to resolve the issue.

What is Error 740 on Windows 11 Add Printer?
The users who are trying to add the printer on their Windows 11 have reported that they are getting Error 740 Adding Printer . If you are also getting the same issue, you might have seen the message elaborating on the network privileges or administrative authorities. There are chances that the issue might be occurring due to various reasons. We will list the common reasons for the cause of the issue below. You can check them, as it will help you resolve the issue without hassle.
- The printer is not connected properly.
- There are some network driver issues with Windows 11.
- The printer driver is not installed on the device properly.
- The printer wizard is not getting administrative privileges.
- There are some problems with the printer.
Fix Error 740 While Adding Printer on Windows 10/11
Many of you are frustrated with the Error 740 Adding Printer issue. The issue is not very complex to resolve. You can easily resolve it with the help of the methods we will list below. You must ensure you implement them on your system without any issues.
Check the Connectivity of the Printer
The users must ensure that the printer they try to add is appropriately connected to their system. If you don’t know, sometimes the cables provided by the printer are loose, so it cannot make proper connections with the system. Also, if you are using any cable that is physically damaged or there are some issues with it, then it’s likely that the issue of error 740 adding printer will occur. We suggest you check the printer’s connectivity on your system before starting the printer wizard. You can quickly check it from the Devices and Printers available in the Control Panel.
Check For Cables

We suggest you check the cables that are provided with the printer. You also have to check whether the power cable is working properly. Sometimes the printer is not getting a properly stabilized power supply due to any fault of the power outlet or cable, and the users get the error 740 adding printer issue. Thus, we will suggest you check the printer cables and ensure they are in working condition. If there is any physical damage to it, then you have to get it repaired.
Disable The User Account Control
You can also disable the User Account Control on your Windows while installing the printer. The User Account Control manages the apps from making changes, so there are chances that it might be causing conflicts in adding the printer. Thus, we suggest you disable the User Account Control with the steps listed below to check whether the issue has been resolved.
- Press Windows + R Key to Open Run .
- Now, type useraccountcontrolsettings and click Enter .
- After it, drag the slider to Never Notify and press the OK button to save the changes.
- Check whether the issue has been resolved by adding the printer again.
- Once the printer has been added, set the slider to normal settings again.

Run The Windows Printer Troubleshooter
You can also try running the Windows Printer Troubleshooter to evaluate if there are any hardware or software issues with the printer. Windows gives a feature through which users can troubleshoot the printer independently. The steps will be going to be very simple for you. The user only has to run the Windows Printer Troubleshooter; after it, the troubleshooter will start looking for possible issues. If any issues are detected, the troubleshooter will show it on the screen. It will also resolve the issue if it is a software problem. If it is a hardware problem, you must contact the service center. You can follow the steps which are listed below to run the Windows Printer Troubleshooter.
- Press Windows + I Key to open Settings .
- Now, click on Troubleshoot after scrolling down in the System section.
- Select the Other Troubleshoot option .
- After it, click on the Run option just near the Print option .
- Follow the on-screen instructions and wait for the process to get completed.

Check The Printer Drivers
There are chances the printer that you are trying to use might not be working due to the driver’s issue. We expect the printer drivers might not have been installed on your system, so you are getting such issues. We suggest you check the printer drivers by going to the device manager. If you have not updated it for a long time, then update it. However, if it is updated, uninstall the driver and reconnect the printer to install the driver again to ensure there are no software issues. After uninstalling or updating the printer’s driver, restart the system and check again.
Check For Windows Update
Sometimes, your outdated Windows version can also cause issues in adding a printer. We all know that all the software and hardware rely on Windows to work properly. If you are not using the latest Windows version on your PC, you will likely be facing issues with it. We suggest you check for the Windows update on your system to ensure you are using the latest Windows version. If any updates are available for the system, download and install it. After it, try to connect and add the printer to your system again.
Wrapping Up
Users are frustrated with getting the Error 740 Adding Printer on the Windows. Many users have searched for a guide to fix the issue and add the printer to their Windows without any issues. However, they were not able to do so even after a lot of tries. In this guide, we have listed the methods that will help you resolve your problem.
- How To Add Wireless Printer In Windows 11
- How to Get Online Printer Issue on Mac
- Get Printer Online on Windows 10 (Offline to Online)
- How To Fix Windows 11 Printer Spooler Error
- How To Install Windows 11 Printer Drivers Easily
- How To Delete Printer Driver In Windows 11
- Delete Restore Point In Windows 11
